Arts & Crafts: Turn “Junk” into Functional Items for your Home
Parting with items that have been lying around the house for ages may be more difficult that we imagine. If tossing items in the trash for good seems like a waste of potentially good items, consider recycling them for a functional purpose in your home. Many of the ideas below may also add some edge and art appeal to your space.
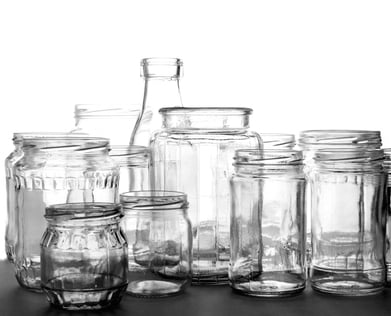
Mason Jar into Soap Dispenser: Mason jars are one of the most versatile items and may be used for
projects ranging from candleholders to plant holders. For this project, you can repurpose an old Mason jar into a soap or lotion dispenser for your bathroom or vanity. Start by measuring and marking the center of the jar’s lid. Using a ½” high-speed drill bit, make a hole to fit the width of a soap dispenser pump. (You can use pumps from your old lotion bottles.) Fill the Mason jar with liquid soap (or lotion), screw the lid back on, and insert the pump. You may need to cut some of the pump length to fit inside the jar.
Rake Head into Stemware Holder: If you have an empty wall space, suspend an old rake head to hang stemware. First, remove the handle by cutting it off carefully and sanding the cut end. If you do not have the tools to cut it off yourself, check with a hardware store in your neighborhood. Use a 3/16” metal drill bit to drill two holes per rake head directly into the center of the handle’s back side, about one inch apart from each other. Use either 3” toggle bolts or 3” anchor screws to screw the rake heads into the wall. Hang it upside down and make sure it is level. You can now add your stemware to this cool piece. (This project may also be done in the bedroom for a functional tie-and-belt rack, or to hang jewelry items.)
Crates into Shelving: Old fruit crates are perfect to use as shelves to display Mason jars full of jams, books, potted plants, dishes, etc. The uses are limitless! Arrange your old crates on the floor into a pattern/layout you like. Proceed to mount the crates on an empty wall, starting with the top row, using a level, anchors, and screws. For each crate, drill holes through each the four corners and insert anchors into the holes. Holding the box in place so that the holes align, drill screws through the holes to attach the crate to the wall. Proceed to use these functional new shelves as you wish.
Here are more ideas that will inspire you.